If you don't have Freenotes you can download it HERE from the iTunes store.
- How To Import Your Digital Planners & PDF Files
(Download your digital files to your iPad and save them to your files.)
1. Open Freenotes app. Click on the + icon. Choose Import.
2. Locate your digital planner that you download to your iPad from your files. Choose create a new note.
3. Tap on import.
4. Now your digital planner is ready to be used.
- How to use digital planner hyperlinks.
1. In the tools bar click on the open book icon. This will close out the toolbar and allow you to use the hyperlinks within your digital planner.
- How to import digital PNG stickers.
1. Click the + icon on the top bar. From the drop-down menu tap on stickers.
2. Once the stickers menu pops up scroll to the end and select the circle with the + icon.
3. Name your sticker set. Now choose if you want to add stickers that are in your photo album or in your files folder. I have mine in my photo album so I'm going to select them from there. You can only add 20 digital stickers at a time.
4. Choose Create. Now you will be able to use your digital stickers anytime within the app.
- How to make a digital sticker book.
1. From the Freenote home page click the + icon.
2. From the drop-down menu choose new notebook.
3. Choose your title and notebook cover.
4. Choose the photo album icon in the tools bar. Select your digital stickers from your photo album.
- How to export your sticker book.
1. From the home screen choose the + icon.
2. Choose the select icon and select your sticker book.
3. With your sticker book selected tap the + icon again and this time tap the share button icon from the menu.
4. Choose the Freenotes option, save your file to your file folder then press done.
- How to change your pen tools thickness & more.
1. Just double-tap on the tool from the toolbar to open up the settings menu for each tool.
- How to delete tools from the toolbar.
1. Just tap and hold the tool that you want to delete, then choose delete.
- How to add deleted tools back to the toolbar.
1. Tap and hold the icon shown in the screenshot below. This will bring up a pop-up menu. Here you can select the tools you want to add to your toolbar.
- Tape Tool
- How to clear a planner page.
1. Choose the layer icon, click on the 3 dots on the layer you want clear, and choose Clear this page.
- Use the text tool if you don't like your handwriting.
1. Choose the text tool, at the bottom of the page you will see the text tools where you can choose your font, font size, and more.
- Selection/ Lasso Tool.
1. Use the lasso tool to select, move, delete, and more your photos, text, and stickers.
1. To move an image, sticker or text just select the lasso tool, make a circle around your object, and move it to where you want it on the page. To deselect an object just tap anywhere outside of your selections.
2. Bring up more options for the objects you have selected with the lasso tool. Just tap within the selection and more options will pop up so you can do more with your objects.
- How to match your text color to your planner theme.
1. Use the lasso/selection tool from the toolbar. Make a selection around your font. Tap on the selection. Choose color from the pop-up menu.
2. When the color box pops up you can scroll through them to see all the color options. You will even see where you can add your own colors to the color box. Tap the color wheel with the + icon on it.
3. Tap the color picker icon. This will bring up the color picker selections tool. You can drag it anywhere over the page of the color you want to add to the color box. To select the color just remove your finger.
4. Now in the color box you will see the color that you selected. To add it to your color box you will need to tap + icon. Once it's added a checkmark will appear.
5. Select the colored icon shown in the screenshot below to go back to your color box. Now select your new color to change the font color.
- Top Bar Tools
1. This tool will bring up all the pages within your planner. You can fav. pages, rearrange pages, delete pages, see your bookmarked pages, outlines and more.
2. This tool allows you to add more pages to your planner, import pages, images and doc scans.
3. This tool allows you to add layers to your planner page to keep things organized on your planner page.
4. This tool allows you to search within your planners.
5. The + icon will bring up other tools and settings.
- Make folders and move planners.
1. From the Freenotes main page tab on the icon shown in the screenshot.
3. To move your planners to new folders, tap and hold your finger down over the planner you want to move. A pop-up menu will pop up. Tap on move. Select the folder from your options that you want to move your planner to then tap move at the top.
2. Tap the + with a folder icon. Name your folder, and click done once you named your folder.
- How to get Freenotes for life.
1. On the main menu select the settings gear at the bottom of the page. At the top, you can add your email address. Now you have it 100% free for life.
- How to get free fonts, stickers, and templates in Freenotes.
1. On the main menu page select the side bar tool to open the folders tab.
2. Select Material Center. From here you can see free fonts, free stickers, and free templates that you can install into your Freenotes app to use.
- Copy & Paste Pages
1. Go to the page you want to copy. Tap on the + icon.
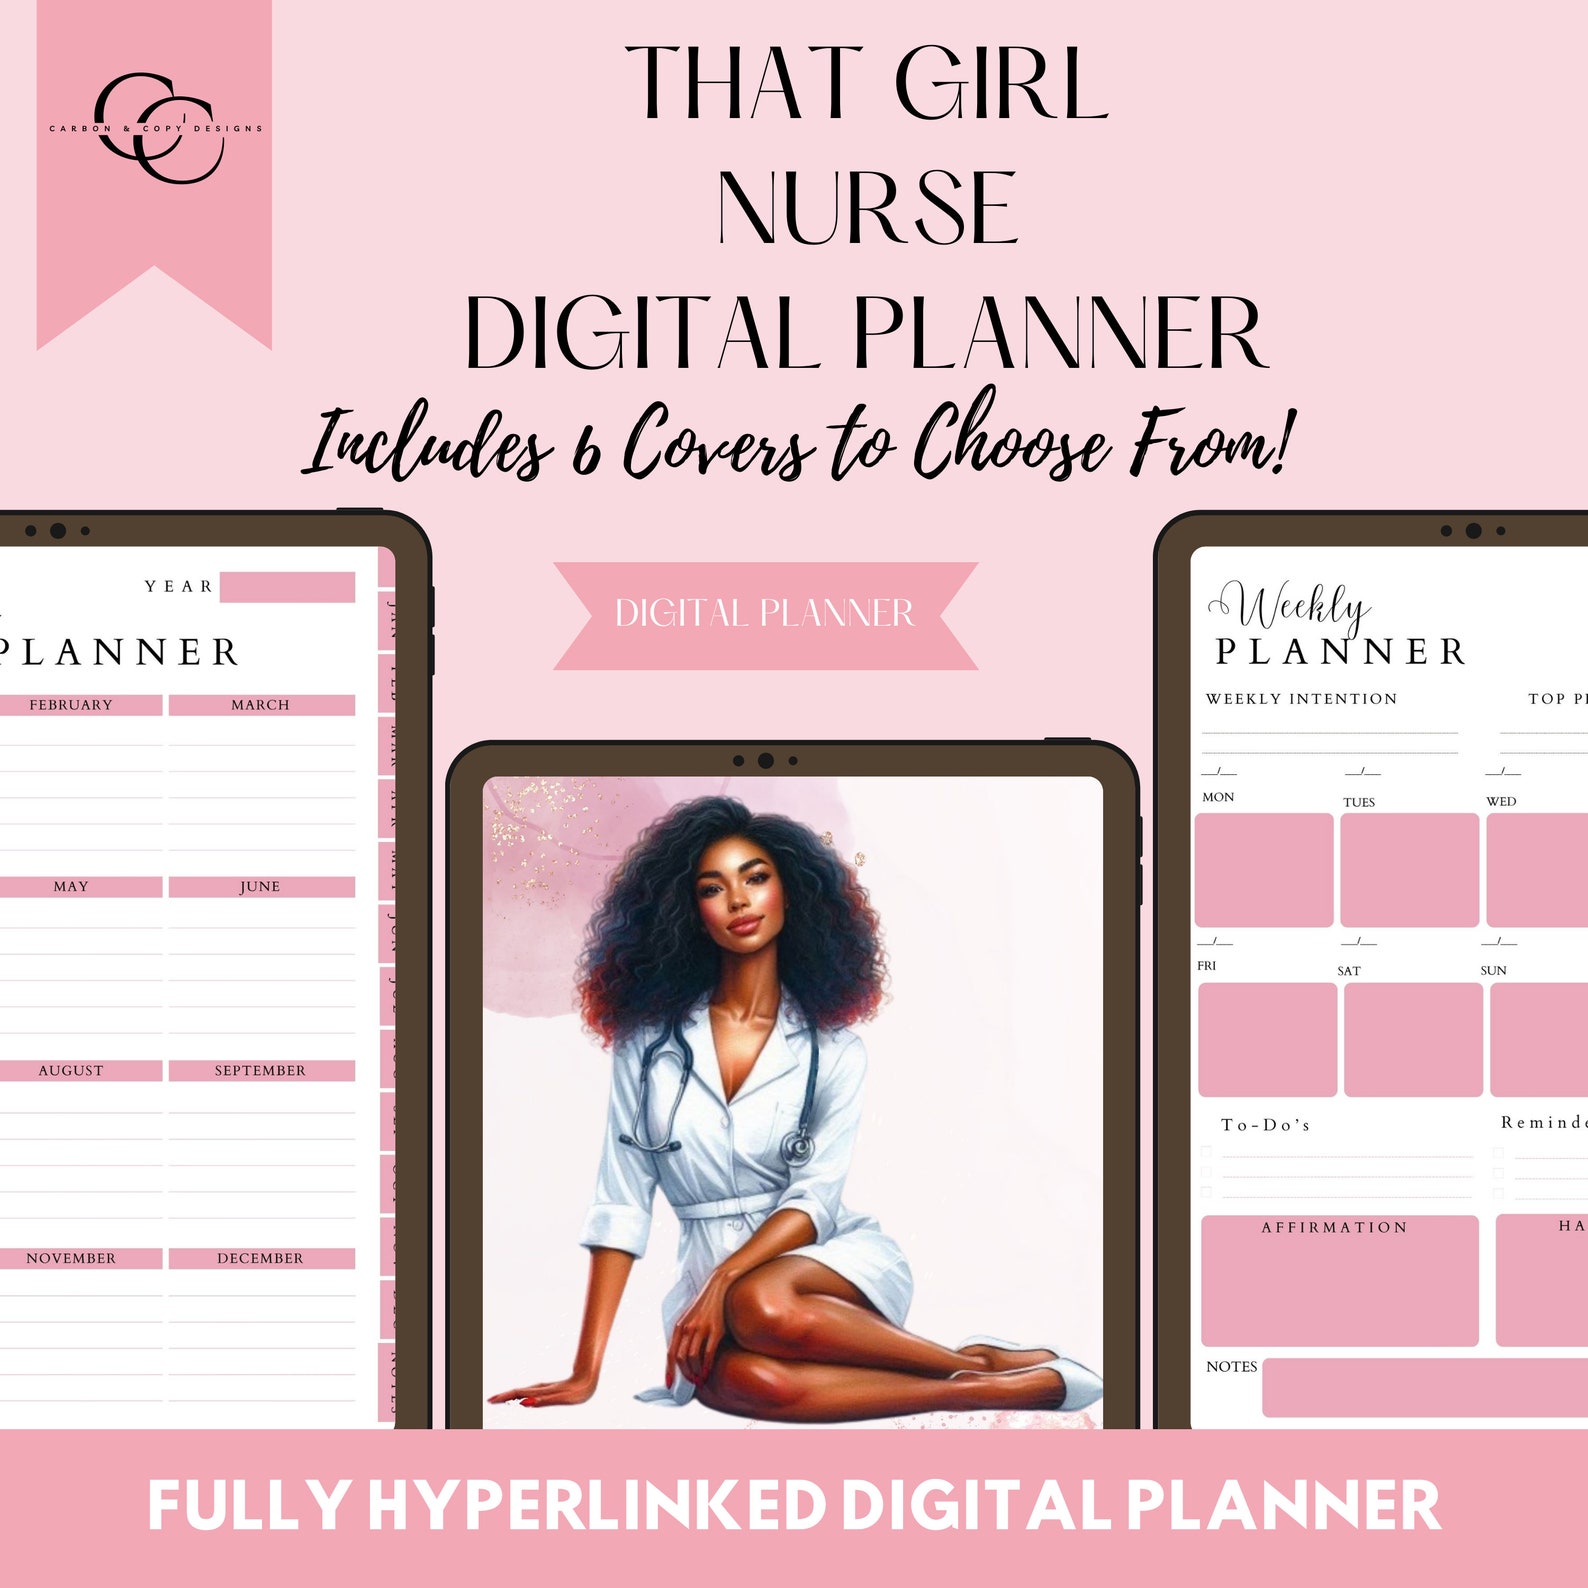
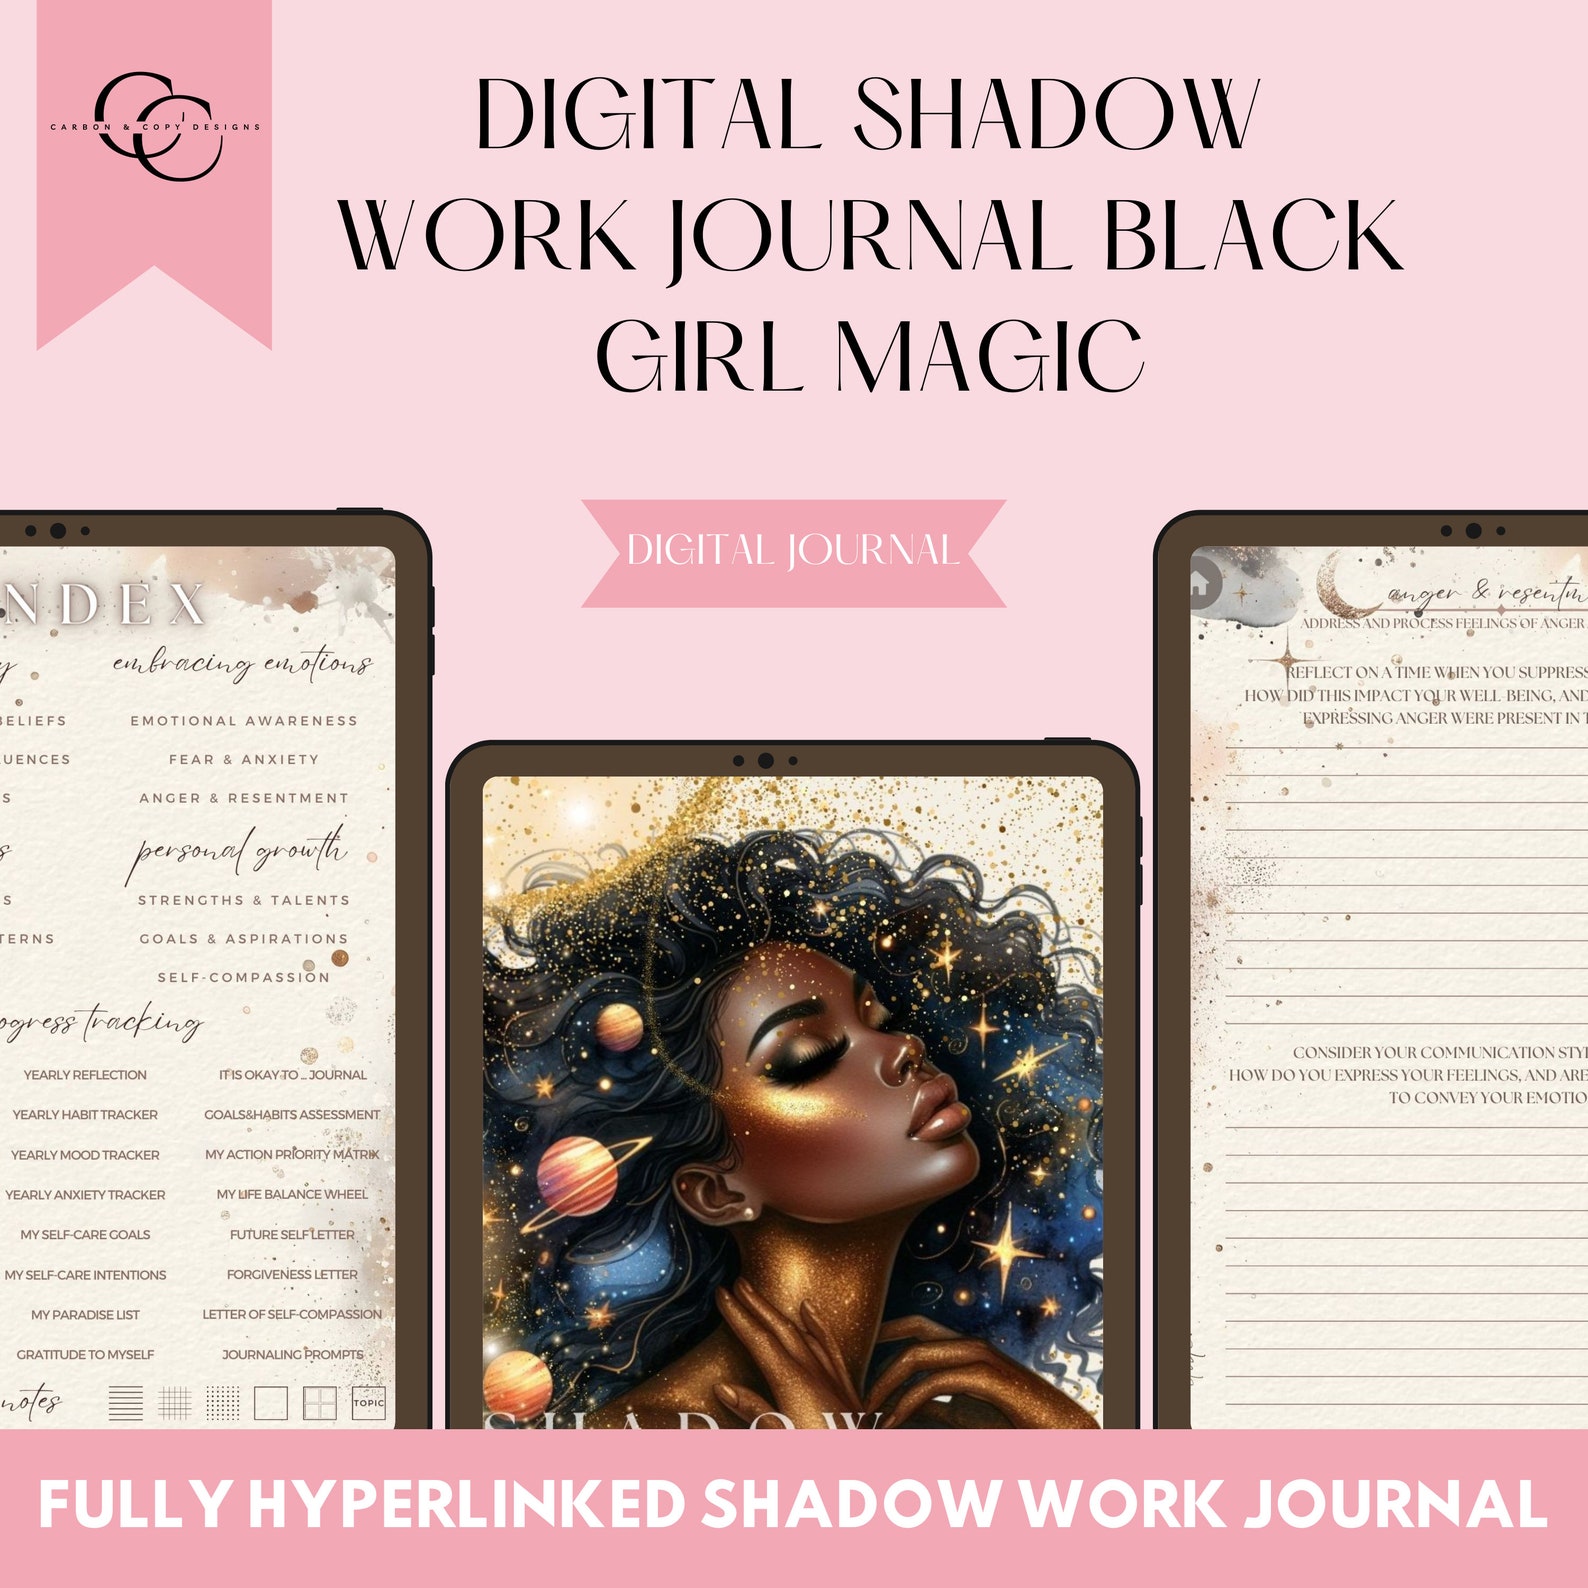
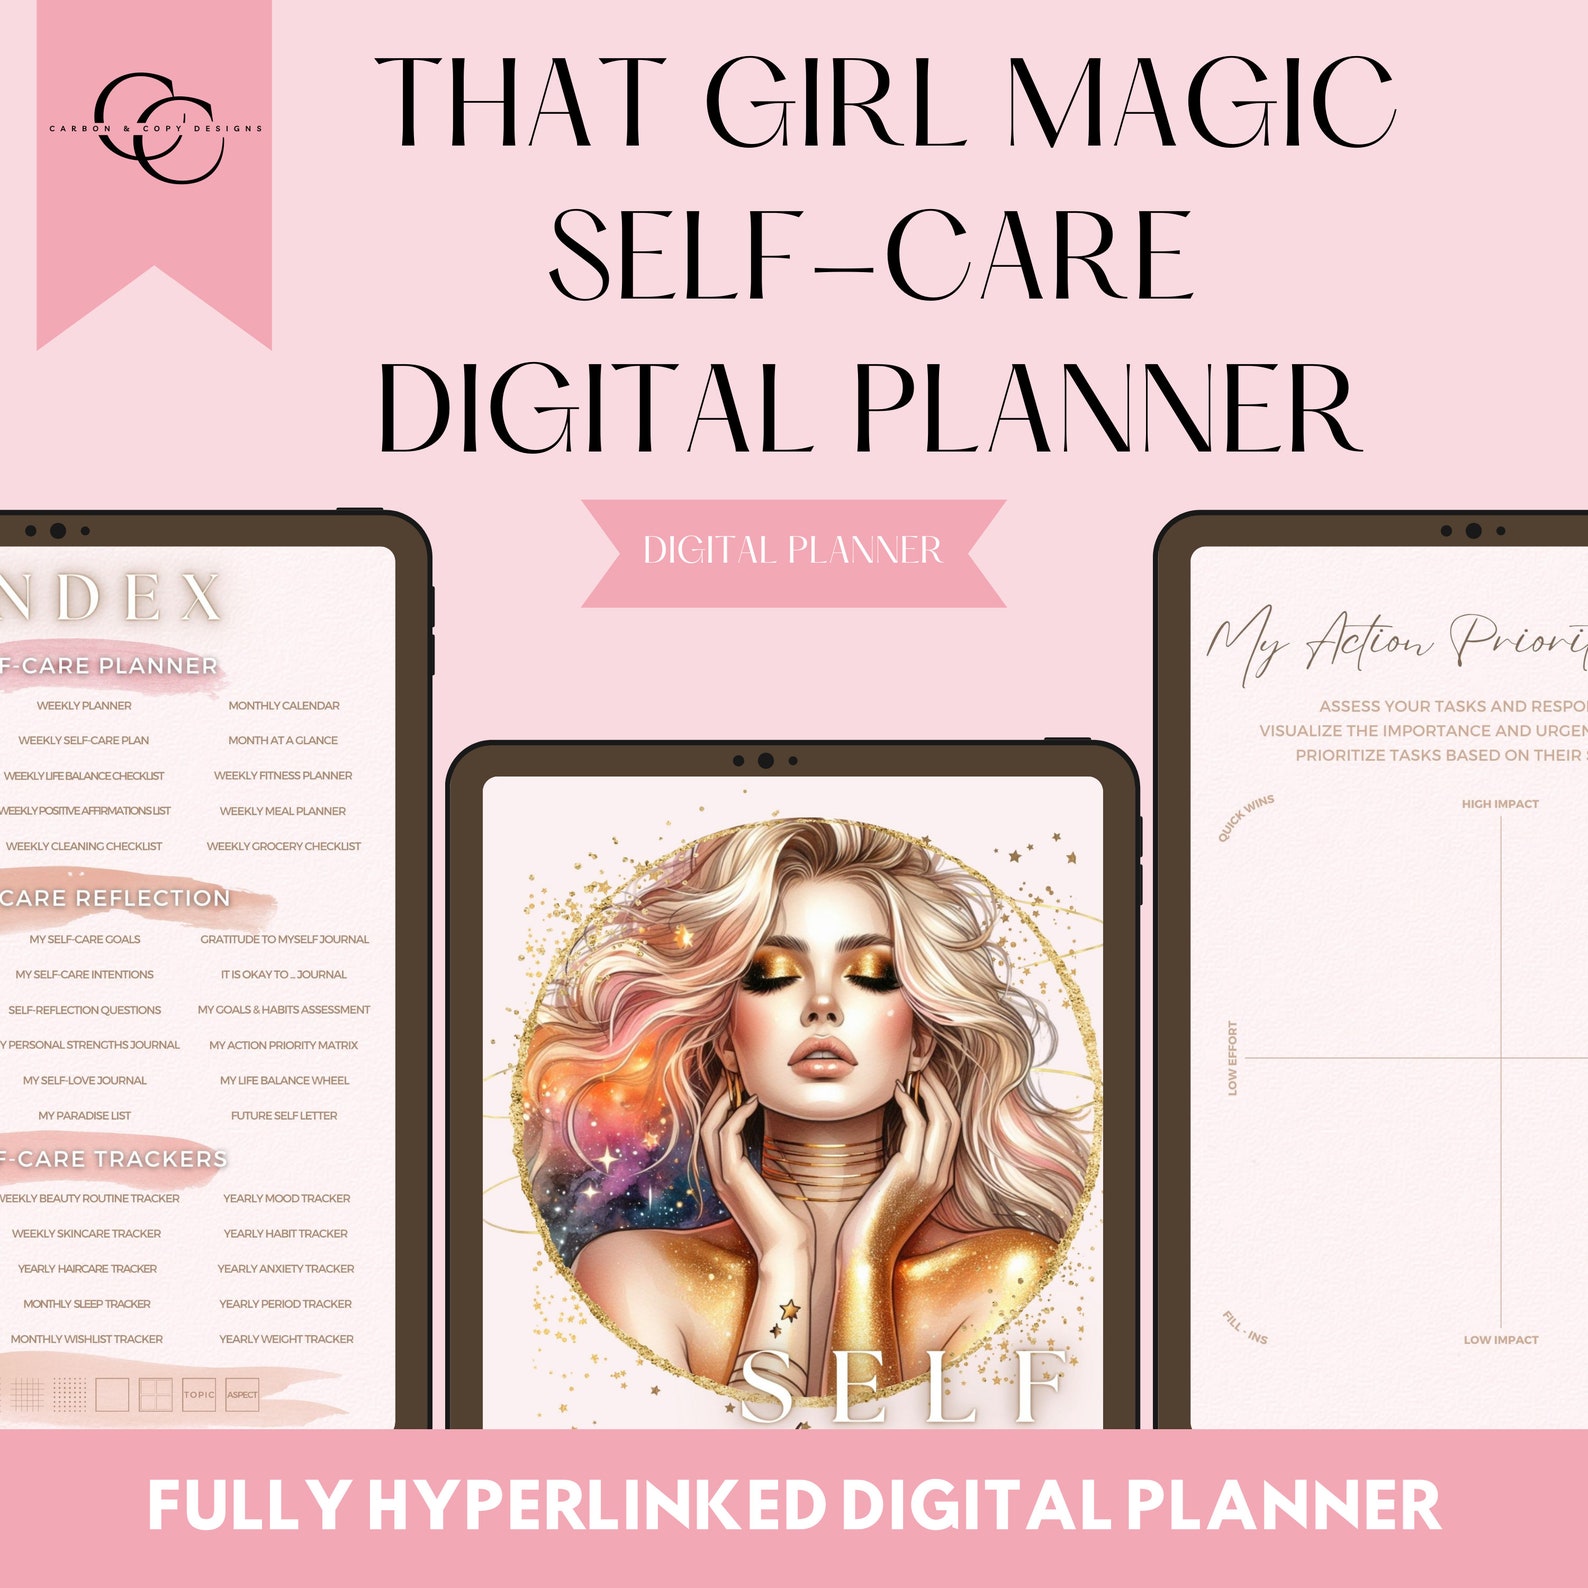
- Yay! You made it to the end. Thank you for sticking around till the end. If you are interested in any of the digital planners I used in my screenshots you can find them and many more on our Etsy Shop HERE. Be sure to fav. and follow our shop as we do sales often. See a few of our planners below.


No comments:
Post a Comment